Air suspension calibration teaches a vehicle’s suspension controller how height-sensor signals relate to the specified physical ride height. It may be required after a height sensor, linkage, control module or suspension component is replaced. The routine can correct stored reference values, but it cannot seal an air leak, repair a bent linkage or restore a weak compressor.
Accuracy and safety depend on the exact vehicle procedure. The car may move without warning while valves fill or vent air springs. Calibration must be performed on the specified surface, with the required load and measurements, and with nobody beneath or close to moving suspension components.
What does ride-height calibration store?
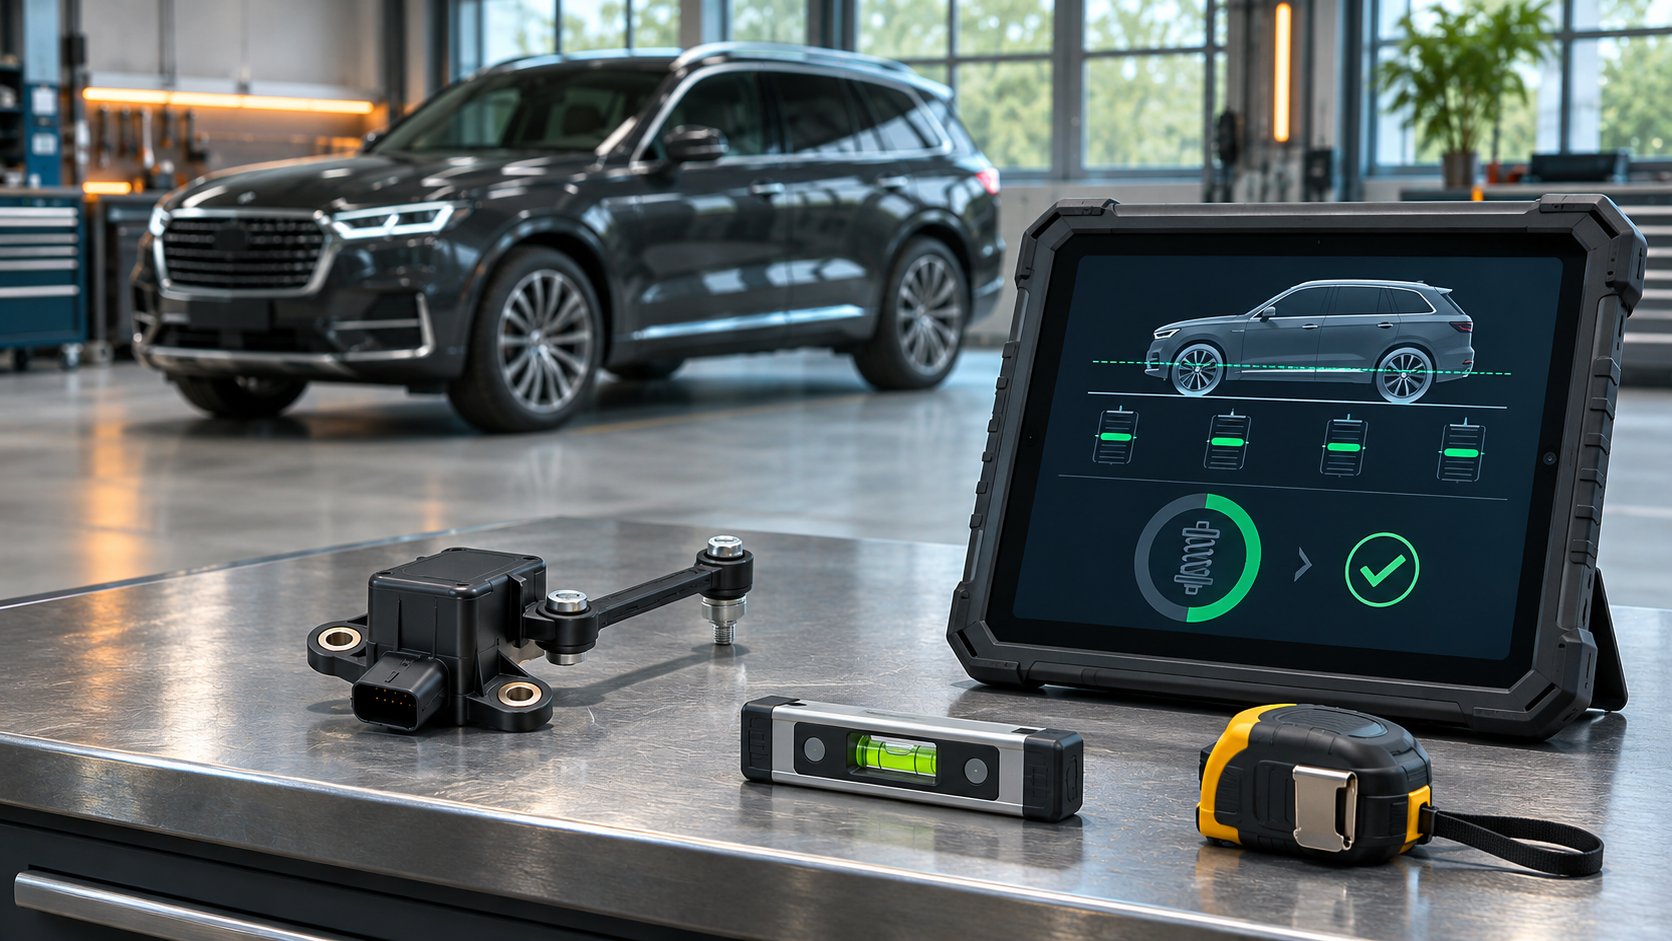
Electronic air suspension uses height sensors connected to suspension arms or axles. As the linkage moves, each sensor sends a position signal to the control module. The module operates a compressor, reservoir and valve block to maintain or change height.
Calibration links those sensor readings to reference dimensions measured at defined body, wheel or suspension points. The controller can then identify normal ride height and, on some systems, raised or lowered modes. The values and measurement points are vehicle specific. A number taken from another model, wheel size or suspension package can create an incorrect stance.
An Audi technical document for one covered system states that calibration is required after a vehicle-level sender is replaced, followed by re-adaptation of affected systems. That is a defined service requirement, not a universal rule for every air-suspension vehicle.
When can air suspension calibration be required?
- after replacing a suspension height sensor or its linkage;
- after replacing or programming the suspension control module;
- after specified air spring, strut, control arm, subframe or other suspension work;
- after repairs that change the geometric relationship between the sensor and suspension;
- before or after alignment when the manufacturer specifies a calibrated ride height; or
- when diagnosis proves that stored reference values are incorrect.
A General Motors bulletin says rear trim height must be recalibrated whenever rear suspension components are replaced on the covered vehicle. It also says the air suspension should first be functioning correctly according to service diagnostics. The repair and system check come before calibration.
What calibration cannot fix
Calibration cannot repair a leaking air spring, loose airline, leaking fitting, stuck valve, overheated compressor, damaged reservoir, broken sensor arm, corroded connector, wiring fault or bent suspension component. It also cannot make an aftermarket lowering modification compatible with factory geometry.
Symptoms help direct diagnosis. One corner sinking overnight points toward leakage or a valve problem. Long compressor run time may indicate a leak, restricted supply or a tired compressor. A fixed implausible sensor value suggests wiring, mounting or linkage trouble. A vehicle that reaches and holds height correctly after repair but sits at the wrong reference level may need calibration.
Land Rover guidance warns against unnecessary height-sensor replacement. It lists connector latching, backed-out pins, harness damage, corrosion, loose fixings, linkage problems, bracket damage and incorrect calibration as checks to make before assuming the sensor itself has failed.
Prepare the vehicle before calibration
- Read all relevant modules. Record suspension codes, live height-sensor values, commanded levels, pressure data and the customer’s complaint before clearing anything.
- Confirm the repair history. Identify replaced sensors, linkages, air springs, struts, control arms, modules and any alignment or body work.
- Inspect the physical system. Check sensor orientation and linkage attachment, connectors, wiring, airlines, fittings, air springs, valve block, compressor and mounting points.
- Verify system operation. Repair leaks and electrical or pressure faults. Confirm the vehicle can reach and hold commanded height without overworking the compressor.
- Set specified conditions. Use a hard, level surface. Set tire pressures and vehicle load as instructed. Remove unintended cargo and account for fuel, wheel size, doors, ignition state and battery support when the OEM procedure specifies them.
- Relax the suspension. Follow the manufacturer’s settling or rolling procedure before measuring. Suspension bind can produce a false dimension.
Do not work underneath a vehicle supported only by a jack. International suspension guidance specifies a hard, flat surface, a secured vehicle and proper support if the vehicle must be raised. Air suspension can change height automatically, so disable or depressurize it only as directed before underbody work.
How the calibration workflow should proceed
Connect a compatible scan tool, identify the vehicle accurately and select the manufacturer-specific ride-height, level-control or height-sensor calibration. The tool may request measurements from the wheel center to a body datum, between suspension points or at another defined location. Measure with the specified tool and units, enter each corner carefully, and check that left and right entries have not been reversed.
Some routines command the vehicle to fill or vent. Keep doors, lifts, tools and people clear throughout the process. Do not substitute a generic target dimension or force a sensor value to make the screen accept it. If the value is outside the allowed range, stop and recheck sensor installation, linkage geometry, vehicle loading and mechanical damage.
After the tool reports completion, cycle the system exactly as instructed. Command available heights, let the vehicle settle, remeasure every corner and rescan for codes. Confirm it holds height after the specified time. Perform wheel alignment, driver-assistance calibration or headlamp aiming when the repair procedure requires them.
Ride height affects alignment geometry. Mack suspension guidance requires the chassis to settle into its normal operating position and ride height to be checked before alignment measurements on the covered vehicles. Passenger-car procedures differ, but the relationship between height and alignment remains important.
Choosing a diagnostic tool
The live SpeedXperts listing for the XTOOL D7 V2.0 currently includes “Air Suspension Calibration.” Coverage varies by make, model, year, suspension option and required routine. Confirm the exact vehicle before purchase or service.
Browse the diagnostic tools collection, read how service functions differ from active tests, and review our steering-angle sensor calibration guide for another example of geometry-dependent calibration after suspension work.
Frequently asked questions
Will calibration fix a vehicle that sinks overnight?
Usually not. Loss of height while parked points toward an air leak or valve-control problem. Test and repair the system before calibration.
Is calibration required after wheel alignment?
Only when the vehicle’s service information requires it. Correct ride height may need verification before alignment, especially after suspension repair.
Can I enter the same height at all four corners?
Do not assume so. Measurement points and target values may differ by axle, suspension package and loading condition. Use the exact OEM data.
Why does calibration fail?
Common causes include active DTCs, an implausible sensor signal, wrong linkage installation, a non-level surface, incorrect load or tire pressure, measurement error, leakage or an incompatible scan-tool routine.
Reliable air-suspension calibration starts with a sound system and accurate measurements. Repair faults, establish the specified vehicle conditions, keep the work area clear, run the exact routine and verify both stored data and physical ride height.