Introduction
Installing VIDA (Vehicle Diagnostic Information Application) on your Windows 10 or 11 PC can enhance your vehicle diagnostics experience, especially for Volvo models. This guide provides clear, step-by-step instructions for installing VIDA 2014D, ensuring you can get started without any hassle.
Important Notes:
- This guide is suitable for all editions and versions of Windows 10 and 11, as well as Windows 8.
- For Windows 7, follow the standard installation method using the setup files provided.
- No additional installations or disabling of Windows components (like Defender or Firewall) are necessary.
1. Preparation
a) Install .NET Framework 3.5
- Open Control Panel.
- Navigate to Programs and Features.
- Click on Turn Windows features on or off.
- In the Windows Features window, check .NET Framework 3.5 and click OK.
- The system will download and install .NET Framework 3.5. A restart may be required. If it’s already installed, proceed to the next step.
b) Unzip VIDA2014D.zip
- Locate the downloaded VIDA2014D.zip file.
- Right-click and select Extract All to unzip the folder.
- Open the unzipped folder in File Explorer.
- The installation process consists of running a sequence of CMD files. When prompted for Administrator privileges, grant permission.
2. Installing and Configuring Microsoft SQL Server 2008 R2
- Run the file 01_SQL.cmd.
- Wait for the installation to complete; the CMD window will close automatically.
- Verify the installation:
- Navigate to Start -> All Apps -> Microsoft SQL Server 2008 R2 -> SQL Server Installation Center -> Tools -> Installed SQL Server features discovery report.
- A browser window will open with a report. Ensure there are TWO rows in the table (showing “No” at the end, which is expected). Close the browser and the SQL Server Installation Center.
3. Installing VIDA2014D
- Run the file 02_VIDA.cmd.
- Select VIDA All-in-One.
- Choose your preferred language.
- Accept the license agreement.
- Choose the installation path. It is recommended to keep the default path: C:\VIDA.
- The installation process may take some time. Monitor progress in Task Manager by checking the activity of the alba process.
- Once installation is complete, desktop shortcuts will appear.
- In the pop-up window, select Internet, then Save, then Close, and again Close.
- Decline the restart prompt when it appears.
4. Patching and First Launch
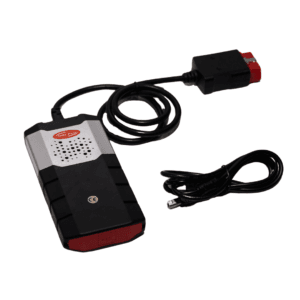
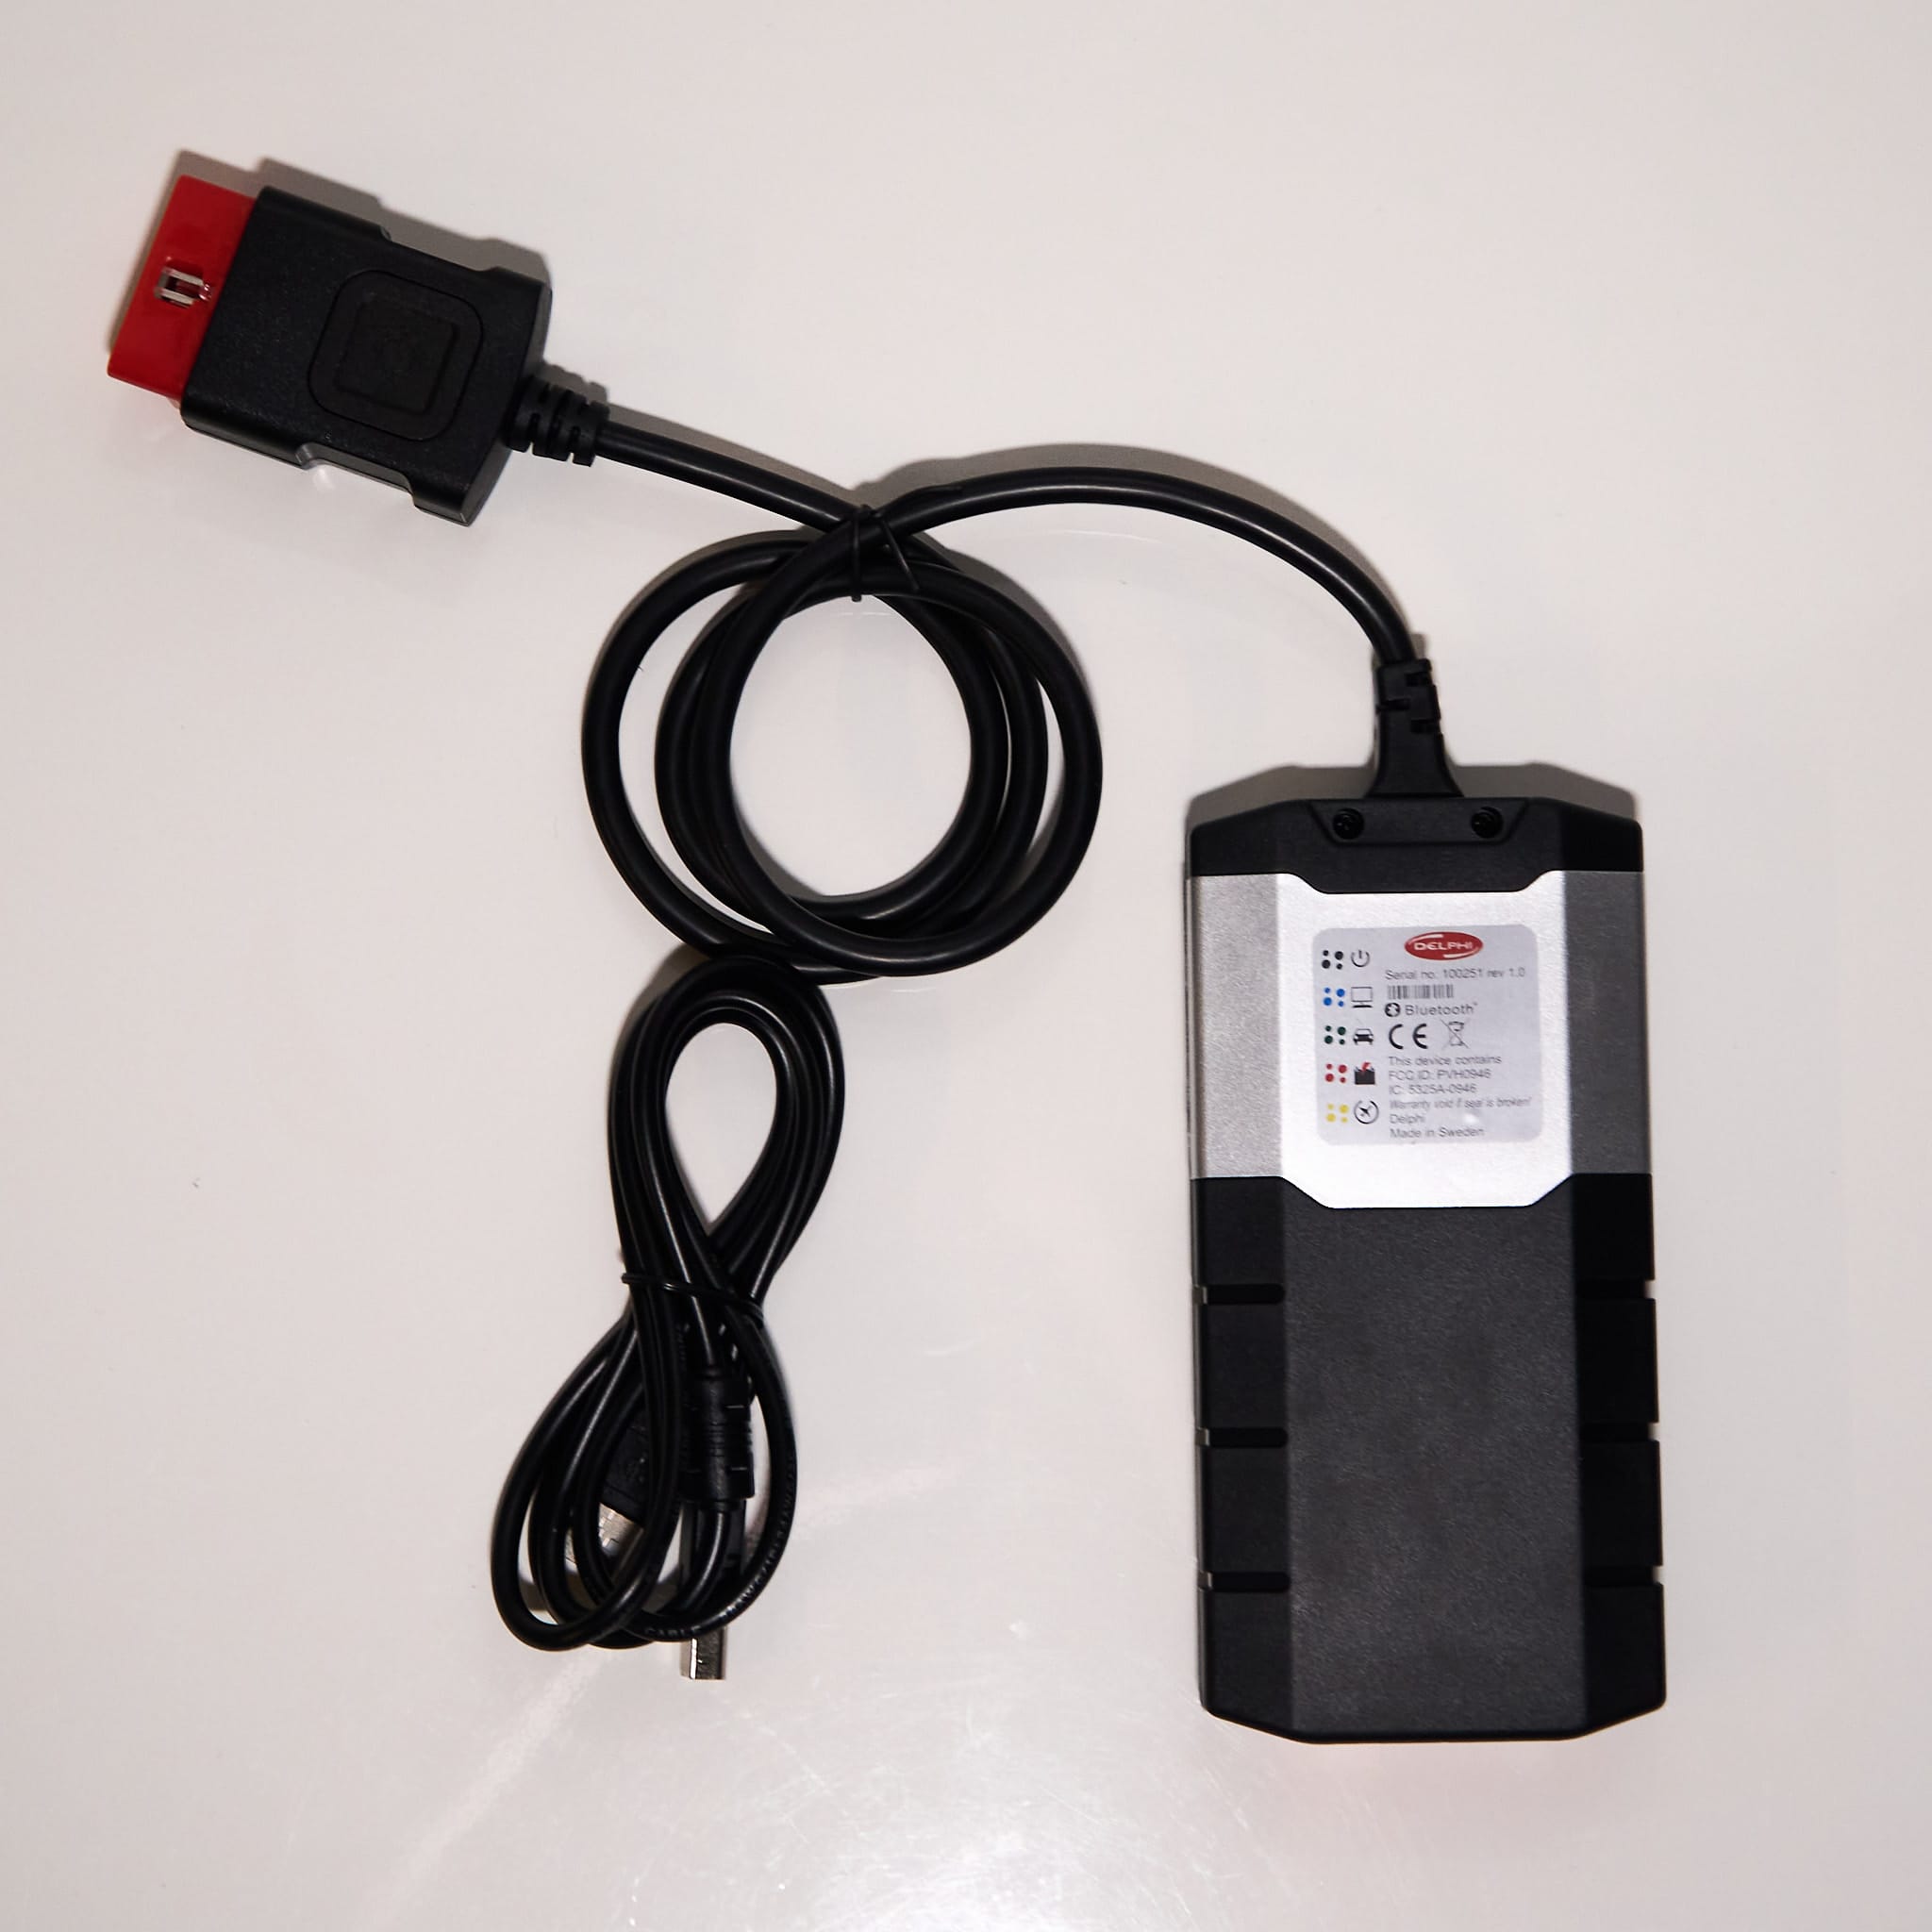
- If you are using a Mongoose J2534 tool, install the driver J2534_Driver_x86/64.exe depending on your system type.
- If you are using a DICE J2534 tool, turn off Windows Security and unzip J2534 Version Driver.zip using the password: obd4com. Then install the driver and reboot your PC.
- Run the file 03_patch.cmd:
- If VIDA Monitor is running, exit it!
- If you changed the default VIDA installation path, modify only the drive letter in the opened window.
- Select Install; VIDA Monitor should start, and after some time, the system tray icon should change from yellow to a green arrow.
- When the Windows Firewall prompt appears, select Allow Access for Java.
- Launch VIDA using the VIDA All-in-One shortcut on the desktop (or from the Start menu, or by right-clicking on the VIDA Monitor tray icon).
- If Internet Explorer asks you to enable add-ons, enable them.
- For Windows 10 with the latest patches or Windows 11, you will need a startup script: VIDA 2014D.vbs. Move this file to the VIDA folder and create a desktop shortcut for easy access.
- Enter Username: 4 for the Europe region (other regions: 1, 2, 3).
- If the username input field is inactive, run 03_patch.cmd again and restart your computer, then continue.
- Wait for IsoView to load.
- Navigate to the Vehicle Profile tab and enter the VIN code. The car details should appear.
- If you get an “Access Denied” error, enter the VIN code manually (do NOT use copy-paste).
- Disable VIDA eUpdate auto-start in Task Manager under the Startup tab. Look for Java(TM) Platform SE binary.
- You can also disable VIDA Monitor from auto-start and launch it manually as needed via the Start menu shortcut.
- Adobe Reader XI, which installs with VIDA, can be removed if you use another PDF reader or do not need it.
Installation is complete. VIDA is now ready to use.
5. Installing Microsoft SQL Server 2008 R2 SP3 Update (Recommended)
- Run the file 04_SQL_SP3.cmd.
- Wait for the installation to complete; the CMD window will close automatically.
- Restart your computer.
Conclusion
Congratulations! You have successfully installed VIDA 2014D on your Windows 10 or 11 PC. With this powerful diagnostic tool, you can now perform comprehensive diagnostics on your Volvo vehicle, ensuring optimal performance and maintenance.
Internal Links:
- How Car Diagnostic Tools Save You Money
- The Best Car Diagnostic Tools for Every Driver
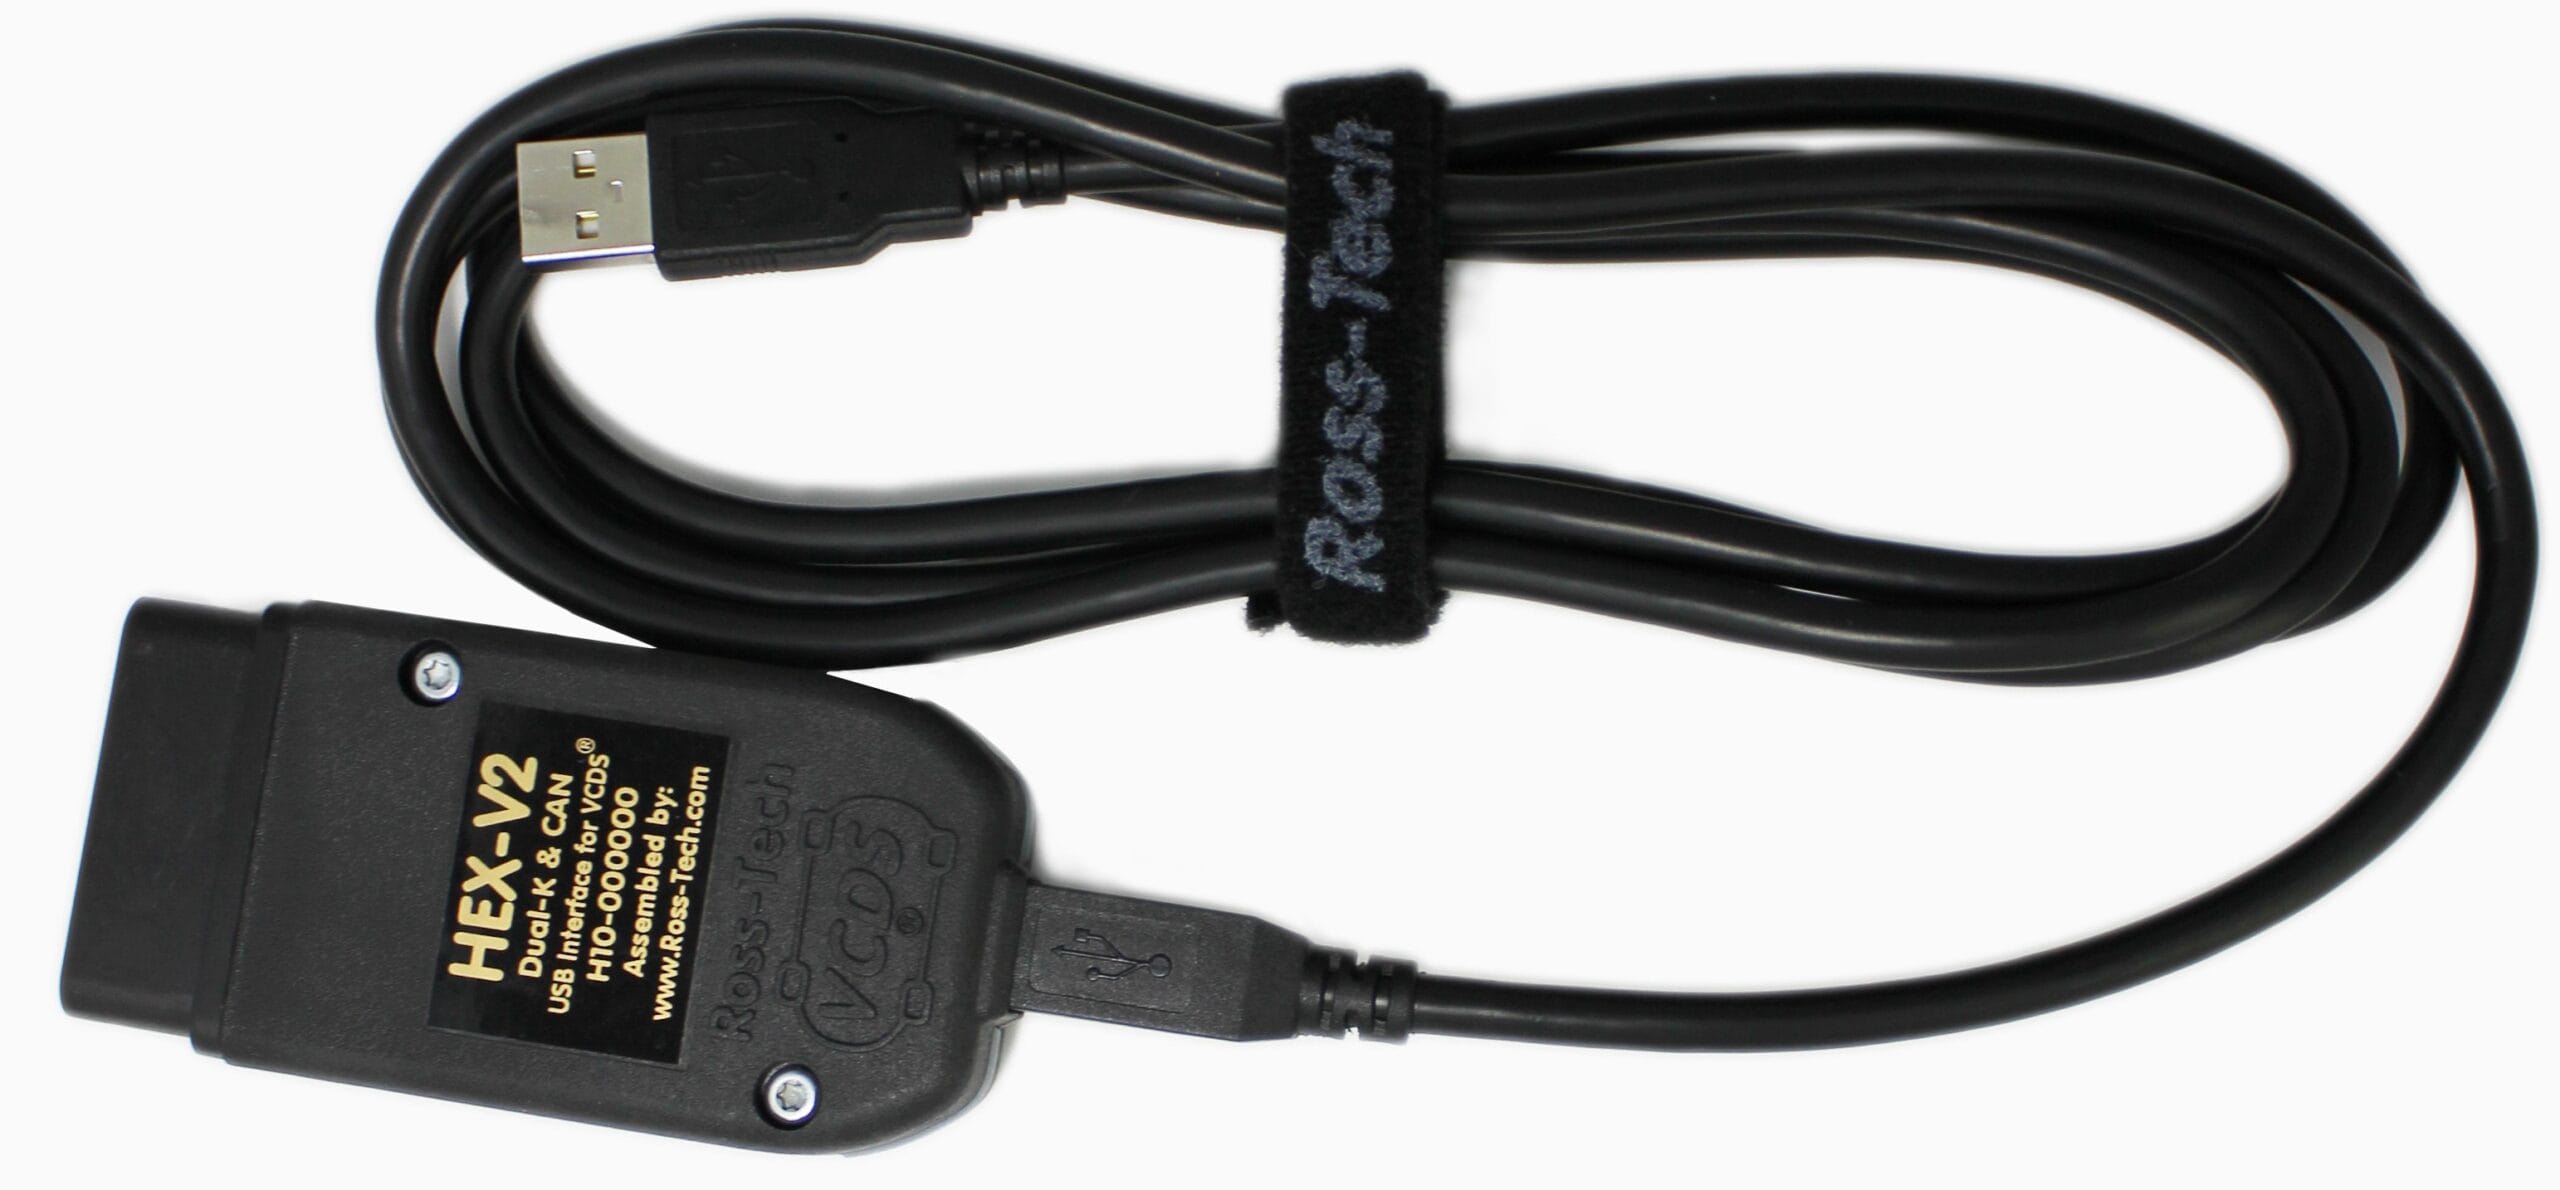
- Clones of Dealer Diagnostic Tools – VCDS, DICE, ISTA


