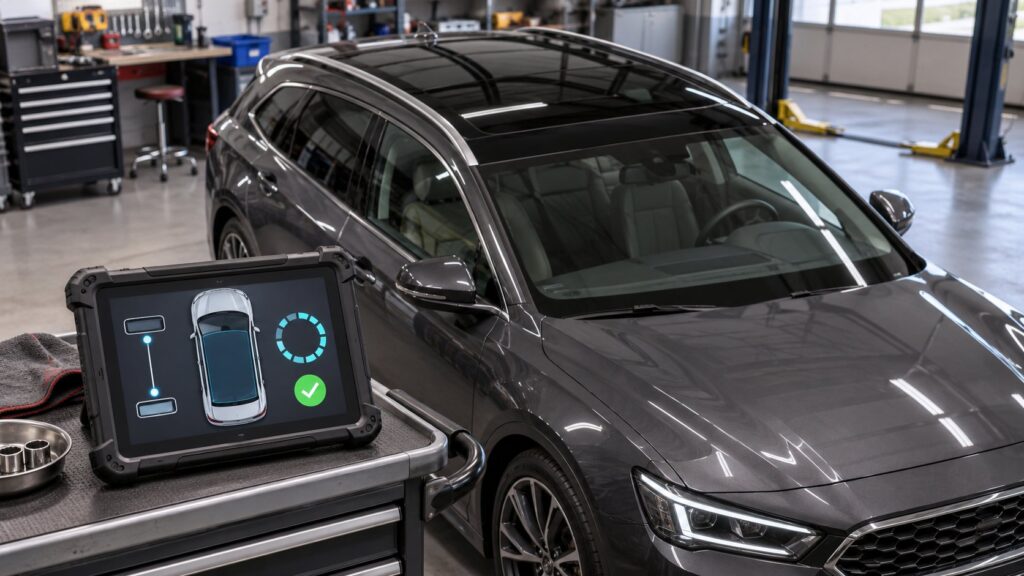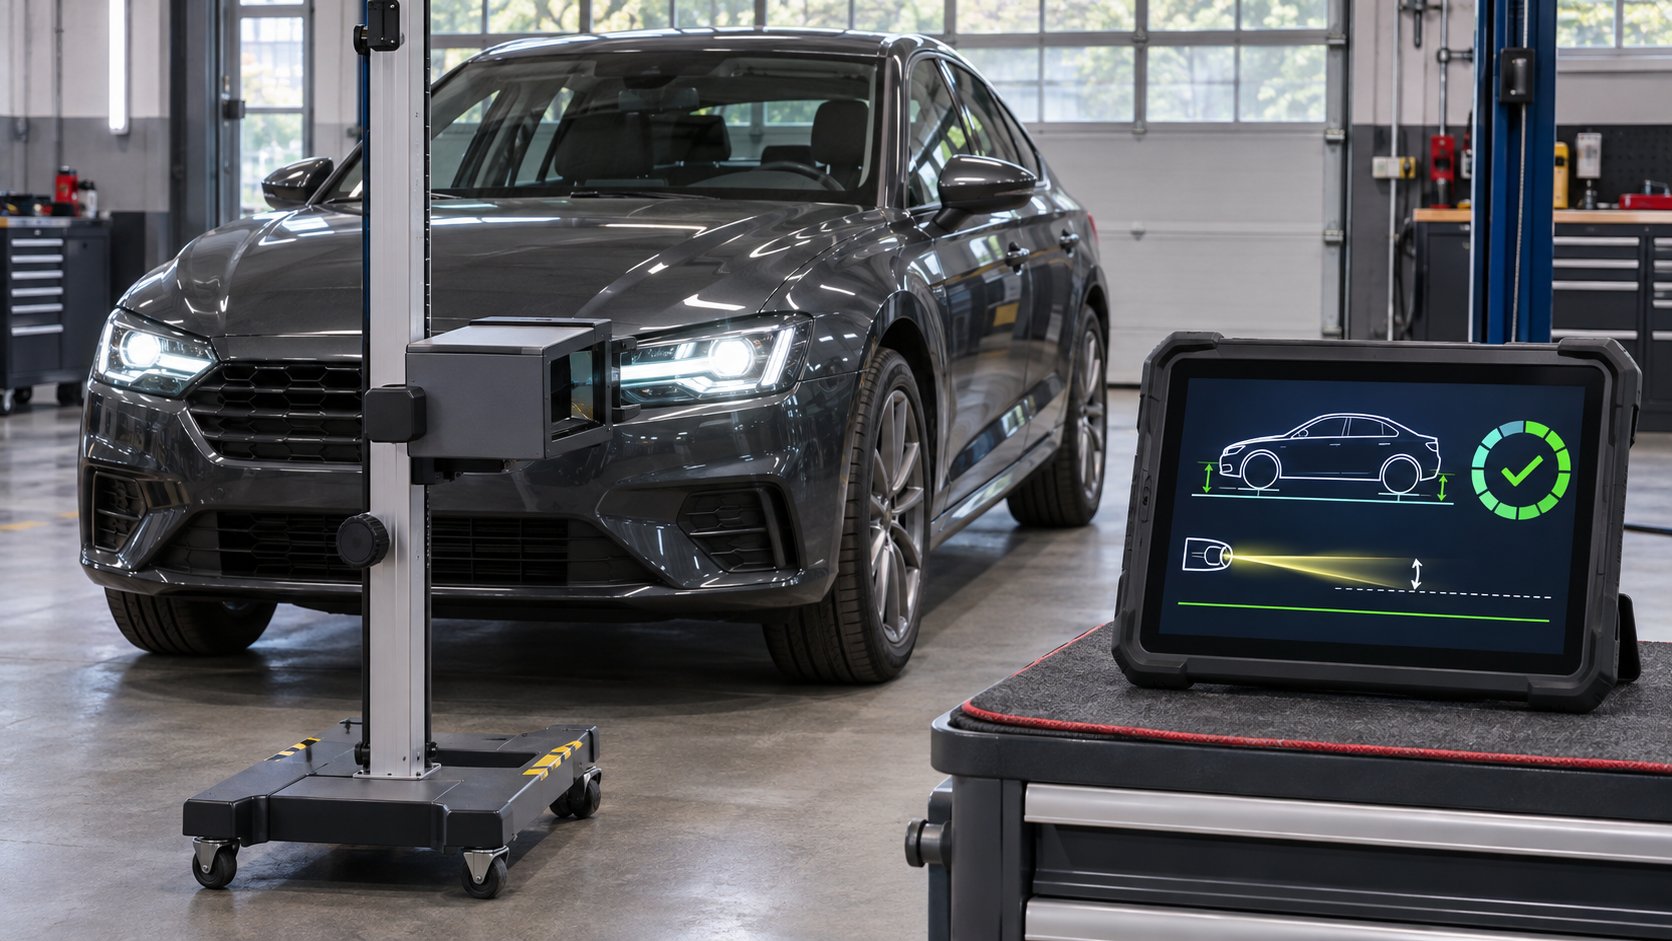
Headlight level sensor calibration establishes the reference that an automatic headlamp-leveling system uses to compensate for vehicle pitch and load. On vehicles that require it, relearning may be needed after a ride-height sensor, suspension component, headlamp, control module or related linkage is repaired or replaced.
Calibration is only part of the job. It cannot straighten a bent sensor arm, repair a broken linkage, correct sagging suspension, code the wrong lamp module or physically aim a headlamp. The vehicle must first sit at its specified ride height with the correct loading, tire pressure and mechanical condition.
How automatic headlamp leveling works
Many LED, xenon and adaptive lighting systems use one or more suspension-height sensors to estimate body pitch. A short link connects each sensor arm to a suspension component. As the vehicle loads or moves, the sensor signal changes and the lighting controller adjusts small motors inside the headlamps.
The calibrated zero point tells the module what a normal vehicle attitude looks like. A Mercedes-Benz recall instruction requires calibration of a rear-axle level sensor for headlamp range adjustment through the diagnostic system after the related repair, following the guided steps precisely.
When can relearn be required?
- after replacing a front or rear headlamp-level sensor or its linkage;
- after suspension, axle, spring or ride-height work that changes the sensor relationship;
- after replacing or programming a headlamp or lighting-control module;
- after installing a headlamp assembly when service information specifies basic settings;
- after changing calibrated ride height or repairing an automatic-leveling suspension; or
- when fault codes report missing basic settings, implausible level data or an uncalibrated position sensor.
The trigger is vehicle-specific. A Volvo technical journal directs technicians to calibrate headlamp position sensors when specified calibration codes appear after a software upgrade. It also warns against adjusting the headlamps before completing the required software work.
Inspect the sensor and suspension first
Level-sensor links are exposed to road debris and suspension movement. Check for a disconnected ball joint, bent arm, seized linkage, reversed lever, loose bracket, damaged connector and rubbed wiring. Compare live front and rear level values with the vehicle sitting normally.
Orientation matters. A Volkswagen recall procedure tells technicians to make sure the level-sensor arm does not bind and that its lever points in the specified direction, then to adjust the front lamps and perform headlight basic settings on vehicles with adaptive front lighting. A sensor installed backward can produce believable but incorrect data.
If ride height is wrong, diagnose that condition before calibration. A broken spring, leaking air-suspension component, incorrect link length or uneven tire pressure can shift the reference. Our guide to air-suspension calibration explains why verified mechanical height comes before electronic learning.
Calibration is different from beam aiming
Electronic calibration stores a sensor or lamp reference inside a control module. Mechanical beam aiming sets the actual light pattern relative to the road using approved adjusters and test equipment. Some repair procedures require both, often in a specified order.
A scan tool cannot correct a lamp housing that is loose, a damaged adjuster, an incorrectly seated bulb or a bent mounting panel. Likewise, turning an aiming screw cannot clear missing basic settings or repair a failed height sensor. Treat the electronic and optical checks as connected but separate tasks.
Prepare the vehicle correctly
Headlamp aim changes with vehicle attitude. The SAE J599 headlamp-aim guidance calls for correct tire pressures, inspection for sagging springs, specified vehicle loading, functioning leveling systems, clean lenses, a flat level surface and suspension stabilization before inspection or adjustment.
The manufacturer may specify fuel level, ballast, steering position, parking-brake state, distance to an aiming screen and whether the suspension must settle after movement. Follow the current instructions for the VIN rather than copying measurements from another model.
A practical diagnostic workflow
- Record the complaint. Note warning messages, uneven beams, lamps that point too high or low, and whether the concern followed lamp or suspension work.
- Scan before clearing codes. Save faults from lighting, body, suspension and gateway modules. Review level-sensor values, calibration state and headlamp-motor positions.
- Verify the hardware. Inspect sensor arms, links, brackets, connectors and wiring. Confirm the correct lamp assemblies and modules are installed and securely mounted.
- Confirm ride height. Set tire pressures, remove unintended cargo and repair spring, damper or air-suspension faults. Measure height exactly as the service procedure defines it.
- Prepare the test area. Use a level floor, stabilize the suspension and position an approved aiming screen or optical aimer correctly.
- Run guided calibration. Maintain required voltage and follow the diagnostic routine without moving the vehicle or changing its load.
- Aim the lamps if specified. Complete mechanical adjustment in the prescribed order. Do not use calibration values as a substitute for checking the beam pattern.
- Verify all functions. Recheck codes, low and high beams, automatic leveling, adaptive movement and dashboard warnings according to service information.
What calibration cannot repair
Relearning cannot fix an internally failed sensor, broken link, corroded connector, damaged headlamp motor, seized adaptive-light mechanism, water-filled lamp, weak power supply or network fault. It also cannot compensate for suspension that sits at the wrong height.
A GM bulletin for specified vehicles directs replacement of a front or rear headlamp-leveling sensor after diagnosis identifies it as the cause. A repeated calibration failure should lead back to sensor data, wiring, installation and mechanical checks instead of endless reset attempts.
Safety during aiming and calibration
Secure the stationary vehicle and keep the area in front of it clear. Headlamps and modules can become hot, and adaptive projectors may move when commanded. Avoid staring into bright beams at close range. Never work under a vehicle supported only by a jack when inspecting suspension sensors.
If the system uses high-voltage discharge lamps, follow the manufacturer’s electrical safety and waiting-time instructions before touching connectors or housings. Calibration normally does not require opening a lamp assembly.
Scan-tool calibration vs active testing
An active test may command a lamp motor left, right, up or down to confirm response. Calibration stores the reference used for automatic control. Passing an active test does not prove that the sensor, ride height or beam aim is correct.
The current SpeedXperts listings for the XTOOL D7S V2.0 en XTOOL D7 V2.0 include headlight adjustment. Confirm coverage for the exact vehicle, lighting option and required routine before purchase or service.
Browse the verzameling van diagnostische hulpmiddelen and compare active tests with service functions before choosing a tool for lamp diagnosis and calibration.
Veelgestelde vragen
Does replacing a headlamp always require calibration?
No. Requirements depend on the lamp technology, controller and repair. Check current service information.
Can a scan tool aim headlights?
It may place the system in basic-setting or adjustment mode. Physical beam aim still requires the approved screen or optical equipment and mechanical adjustment when specified.
Why does calibration fail on a level floor?
Check sensor orientation and data, linkages, suspension height, tire pressure, loading, voltage, codes and lamp-module compatibility.
Headlight level sensor calibration belongs within a complete lighting and suspension check. Establish correct ride height, repair sensor and lamp faults, learn the reference, aim the beams and verify automatic operation before returning the vehicle.