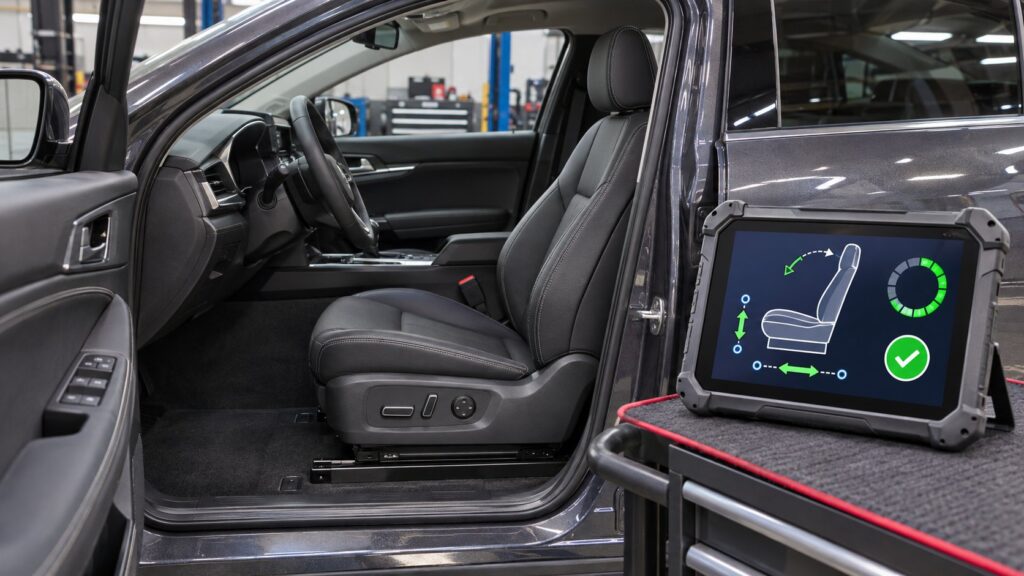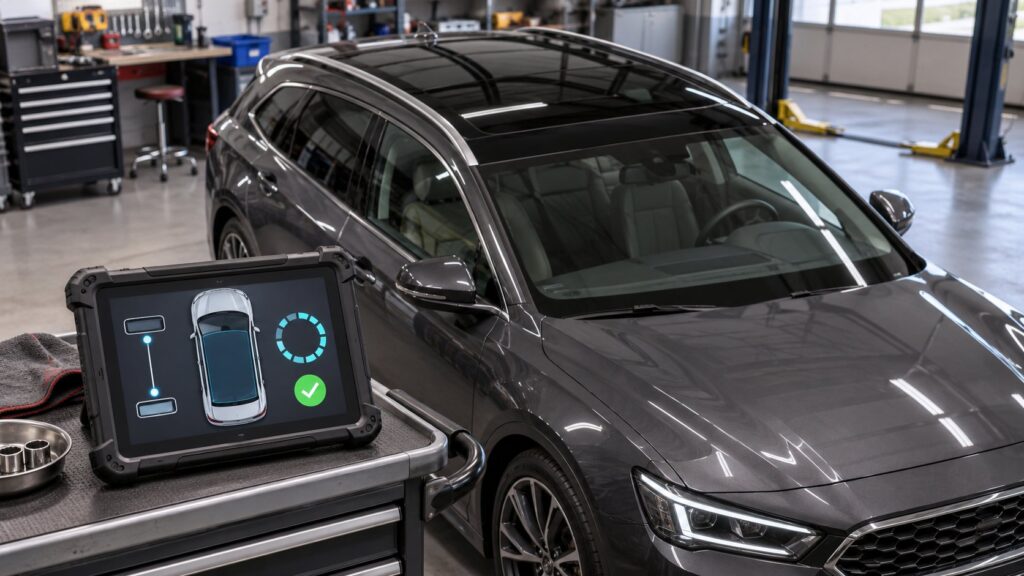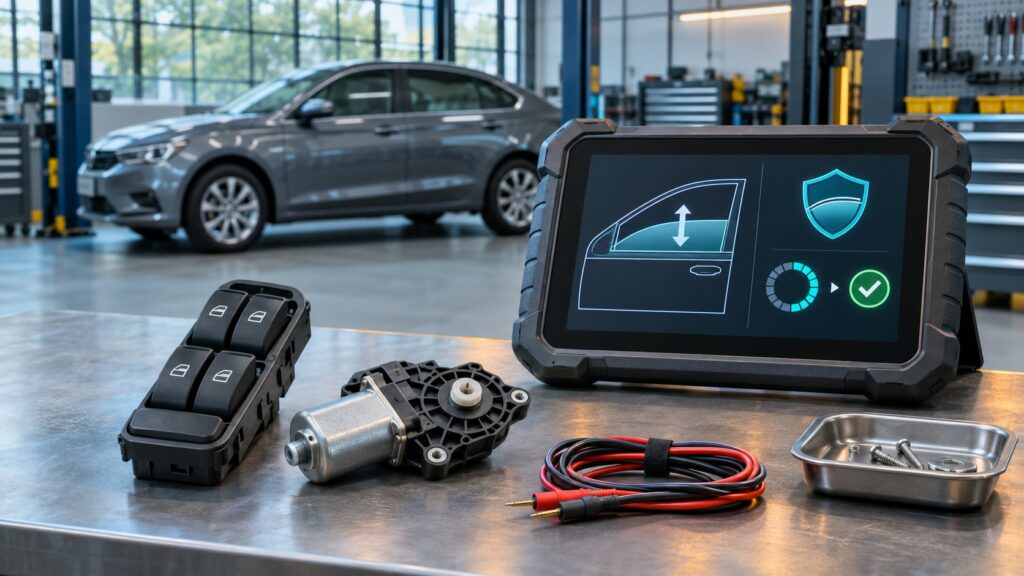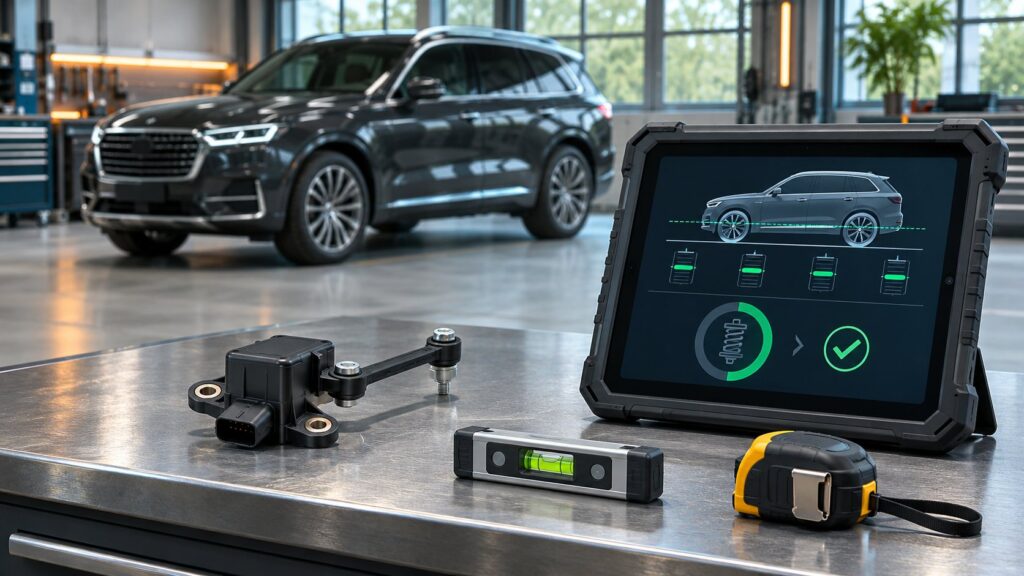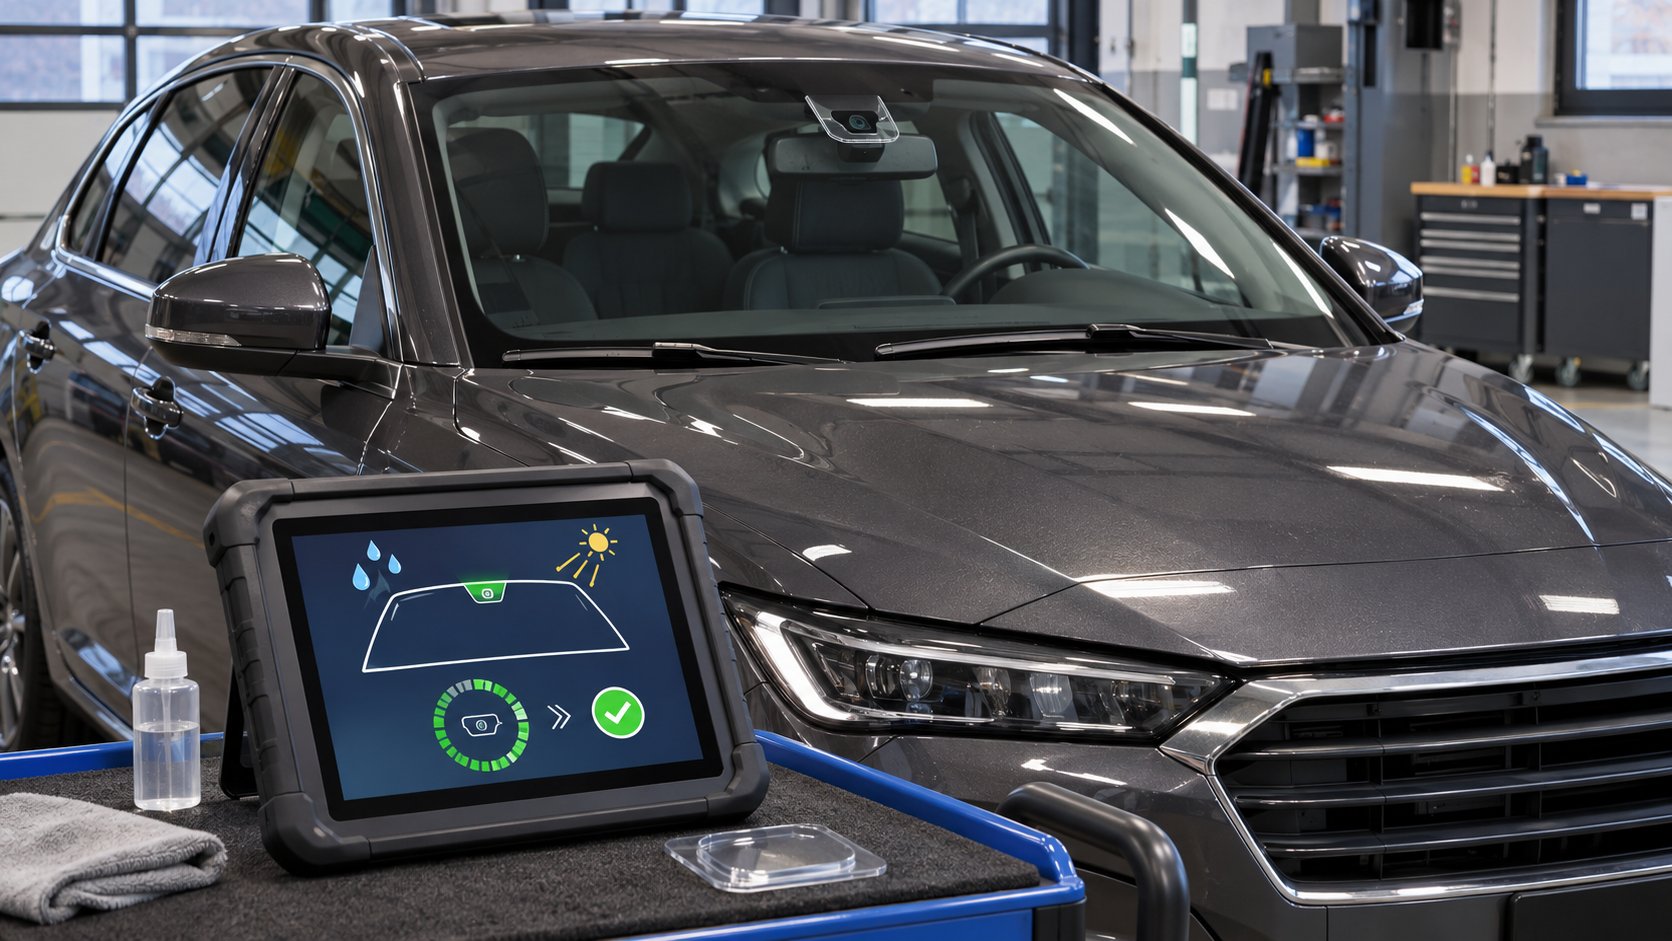
Rain sensor calibration can be required after windshield replacement, sensor removal or repair around the mirror mounting area. The process establishes how the rain/light sensor interprets the new glass and optical path so automatic wiping and, on some vehicles, automatic lighting work as designed.
Calibration cannot compensate for the wrong windshield, damaged optical gel, trapped air, a loose bracket, dirty glass, poor wiring or a failed wiper motor. The rain/light sensor is also different from a forward camera: a windshield job may require separate procedures for each device.
How a rain/light sensor works
Most rain sensors send infrared light into the windshield and measure how much returns. Water on the outer surface changes the reflection, allowing the controller to request a wipe and adjust frequency. A combined light sensor can also help control automatic headlamps or display brightness.
The optical connection between sensor and glass matters. A gel pad or coupling layer must sit flat against the correct sensor window. Fingerprints, dirt, damage or air bubbles can distort the signal. A Freightliner service bulletin says the covered rain/light sensor must be fastened correctly, have clear windshield visibility and use clean gel without an air bubble larger than one millimetre before calibration is considered.
When can calibration be required?
- after windshield replacement when the service procedure specifies sensor learning;
- after removing, replacing or transferring the rain/light sensor;
- after renewing its optical gel pad or mounting bracket;
- after module programming, coding or a power event that clears learned values;
- when a diagnostic code reports missing basic settings or calibration; or
- when automatic wipers stop responding after otherwise correct glass work.
Requirements vary by vehicle. Some systems perform a self-learning sequence, while others use a scan-tool routine. Confirm the VIN, glass option, sensor part number and current manufacturer instructions. Do not assume every windshield replacement uses the same method.
Inspect the optical installation first
A scan-tool success message cannot repair a bad optical interface. Inspect the sensor through the windshield for bubbles, haze, fingerprints, an uneven gel layer or incomplete contact. Confirm the bracket is secure and the glass has the correct sensor window, tint and optical characteristics.
A BMW bulletin explains that a rain/light sensor’s gel pad can be damaged while it is transferred to a replacement windshield. On applicable vehicles, the gel pad can be serviced separately rather than replacing the entire sensor. The vehicle-specific removal time and handling instructions still matter.
Installation cleanliness is equally important. Another Freightliner bulletin directs technicians to clean and dry the inner windshield, avoid touching the gel and press the sensor evenly to prevent air bubbles. Use only the approved cleaner, pad and preparation for the vehicle being repaired.
What calibration cannot fix
Relearning will not fix a loose connector, open circuit, network fault, incorrect coding, damaged sensor, failed stalk switch, worn blades, blocked washer system or wiper motor that cannot park correctly. It cannot overcome heavy contamination, scratches or glass whose light transmission is outside the expected range.
The same Freightliner calibration bulletin identifies windshield transmittance as a possible cause when an otherwise correct sensor will not learn. That is a useful reminder: glass construction is part of the sensing system, not just a surface that holds the component.
Test lighting complaints separately too. A 2025 Porsche technical instruction uses a controlled light test and diagnostic equipment to distinguish a faulty weather sensor from other causes. Replacing parts before checking installation, codes and measured behavior can waste time.
A practical calibration workflow
- Identify every windshield-mounted system. Record the VIN, glass markings and installed rain/light sensor, camera, humidity sensor and mirror options.
- Scan before clearing codes. Save faults from the body, wiper, lighting and driver-assistance modules. Check sensor status, ambient-light values and basic-setting state when available.
- Verify the glass and bracket. Confirm the correct windshield, sensor window, bracket location and secure mounting. Inspect for tint, stickers or contamination over the sensing area.
- Inspect the optical pad. Look for damage, fingerprints, haze and bubbles. Replace or reinstall it only with the specified parts and preparation method.
- Check electrical basics. Verify battery voltage, fuses, connector condition, wiring and module communication. Stabilize voltage if the scan-tool procedure requires it.
- Follow the exact routine. Meet the specified lighting, glass-dryness, switch-position and ignition prerequisites. Do not substitute a generic sequence.
- Verify safely. Keep people and tools away from the wipers. Test automatic operation using the manufacturer’s approved method; never work near arms that may move unexpectedly.
- Complete separate procedures. If a forward camera was disturbed, perform its required aiming or calibration independently and confirm all related codes are clear.
Rain sensor calibration is not ADAS camera calibration
The components may share a cover near the mirror, but they perform different jobs. A rain sensor detects moisture and light through a small optical area. A forward camera observes road markings, vehicles or signs and may require targets, measurements, a road drive or other controlled conditions.
A Stellantis diagnostic case describes a lane-departure warning and camera-calibration faults after windshield service, with checks for camera mounting and connectors. Its procedure is unrelated to rain-sensor learning. Treating one calibration as proof that the other is complete can leave a driver-assistance fault unresolved.
Safe functional testing
Automatic wipers can move without warning when the system is active. Keep hands, cables and tools clear, close the hood if the vehicle logic requires it, and use water only as specified. Do not run blades on a dry or dirty windshield.
A Honda owner-manual extract warns drivers to switch AUTO off before cleaning the windshield or entering a car wash because unintended movement can damage the wiper system. The same precaution belongs in workshop handling.
Manual learning vs scan-tool calibration
Some sensors learn after defined ignition cycles and operating conditions. Others require a diagnostic basic-setting routine that reports prerequisites and completion. Neither method can overcome incorrect glass or a damaged optical interface, and coverage depends on vehicle software.
The current SpeedXperts listings for the XTOOL D7S V2.0 und XTOOL D7 V2.0 include rain/light sensor calibration. Confirm support for the exact vehicle, model year and sensor before purchase or service.
Browse the Sammlung von Diagnosetools and read our comparison of active tests and service functions. Commanding wipers can test an output; calibration stores or validates sensor learning.
Häufig gestellte Fragen
Does every replacement windshield require rain sensor calibration?
No. The requirement depends on the vehicle and repair. Always check current manufacturer information.
Will calibration remove bubbles from the gel pad?
No. The optical interface must be installed correctly before learning can succeed.
Why do the wipers still fail after successful calibration?
Check switch inputs, wiring, coding, sensor values, blades, linkage, motor operation and the glass itself. A completed routine proves only what that vehicle reports.
Rain sensor calibration belongs at the end of correct glass and sensor installation. Verify the optical path, use the exact routine, test wipers safely and complete any separate camera calibration before returning the vehicle.