Version r1.2
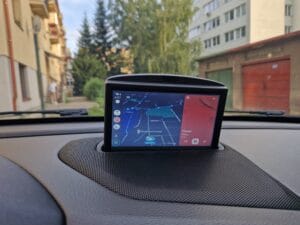
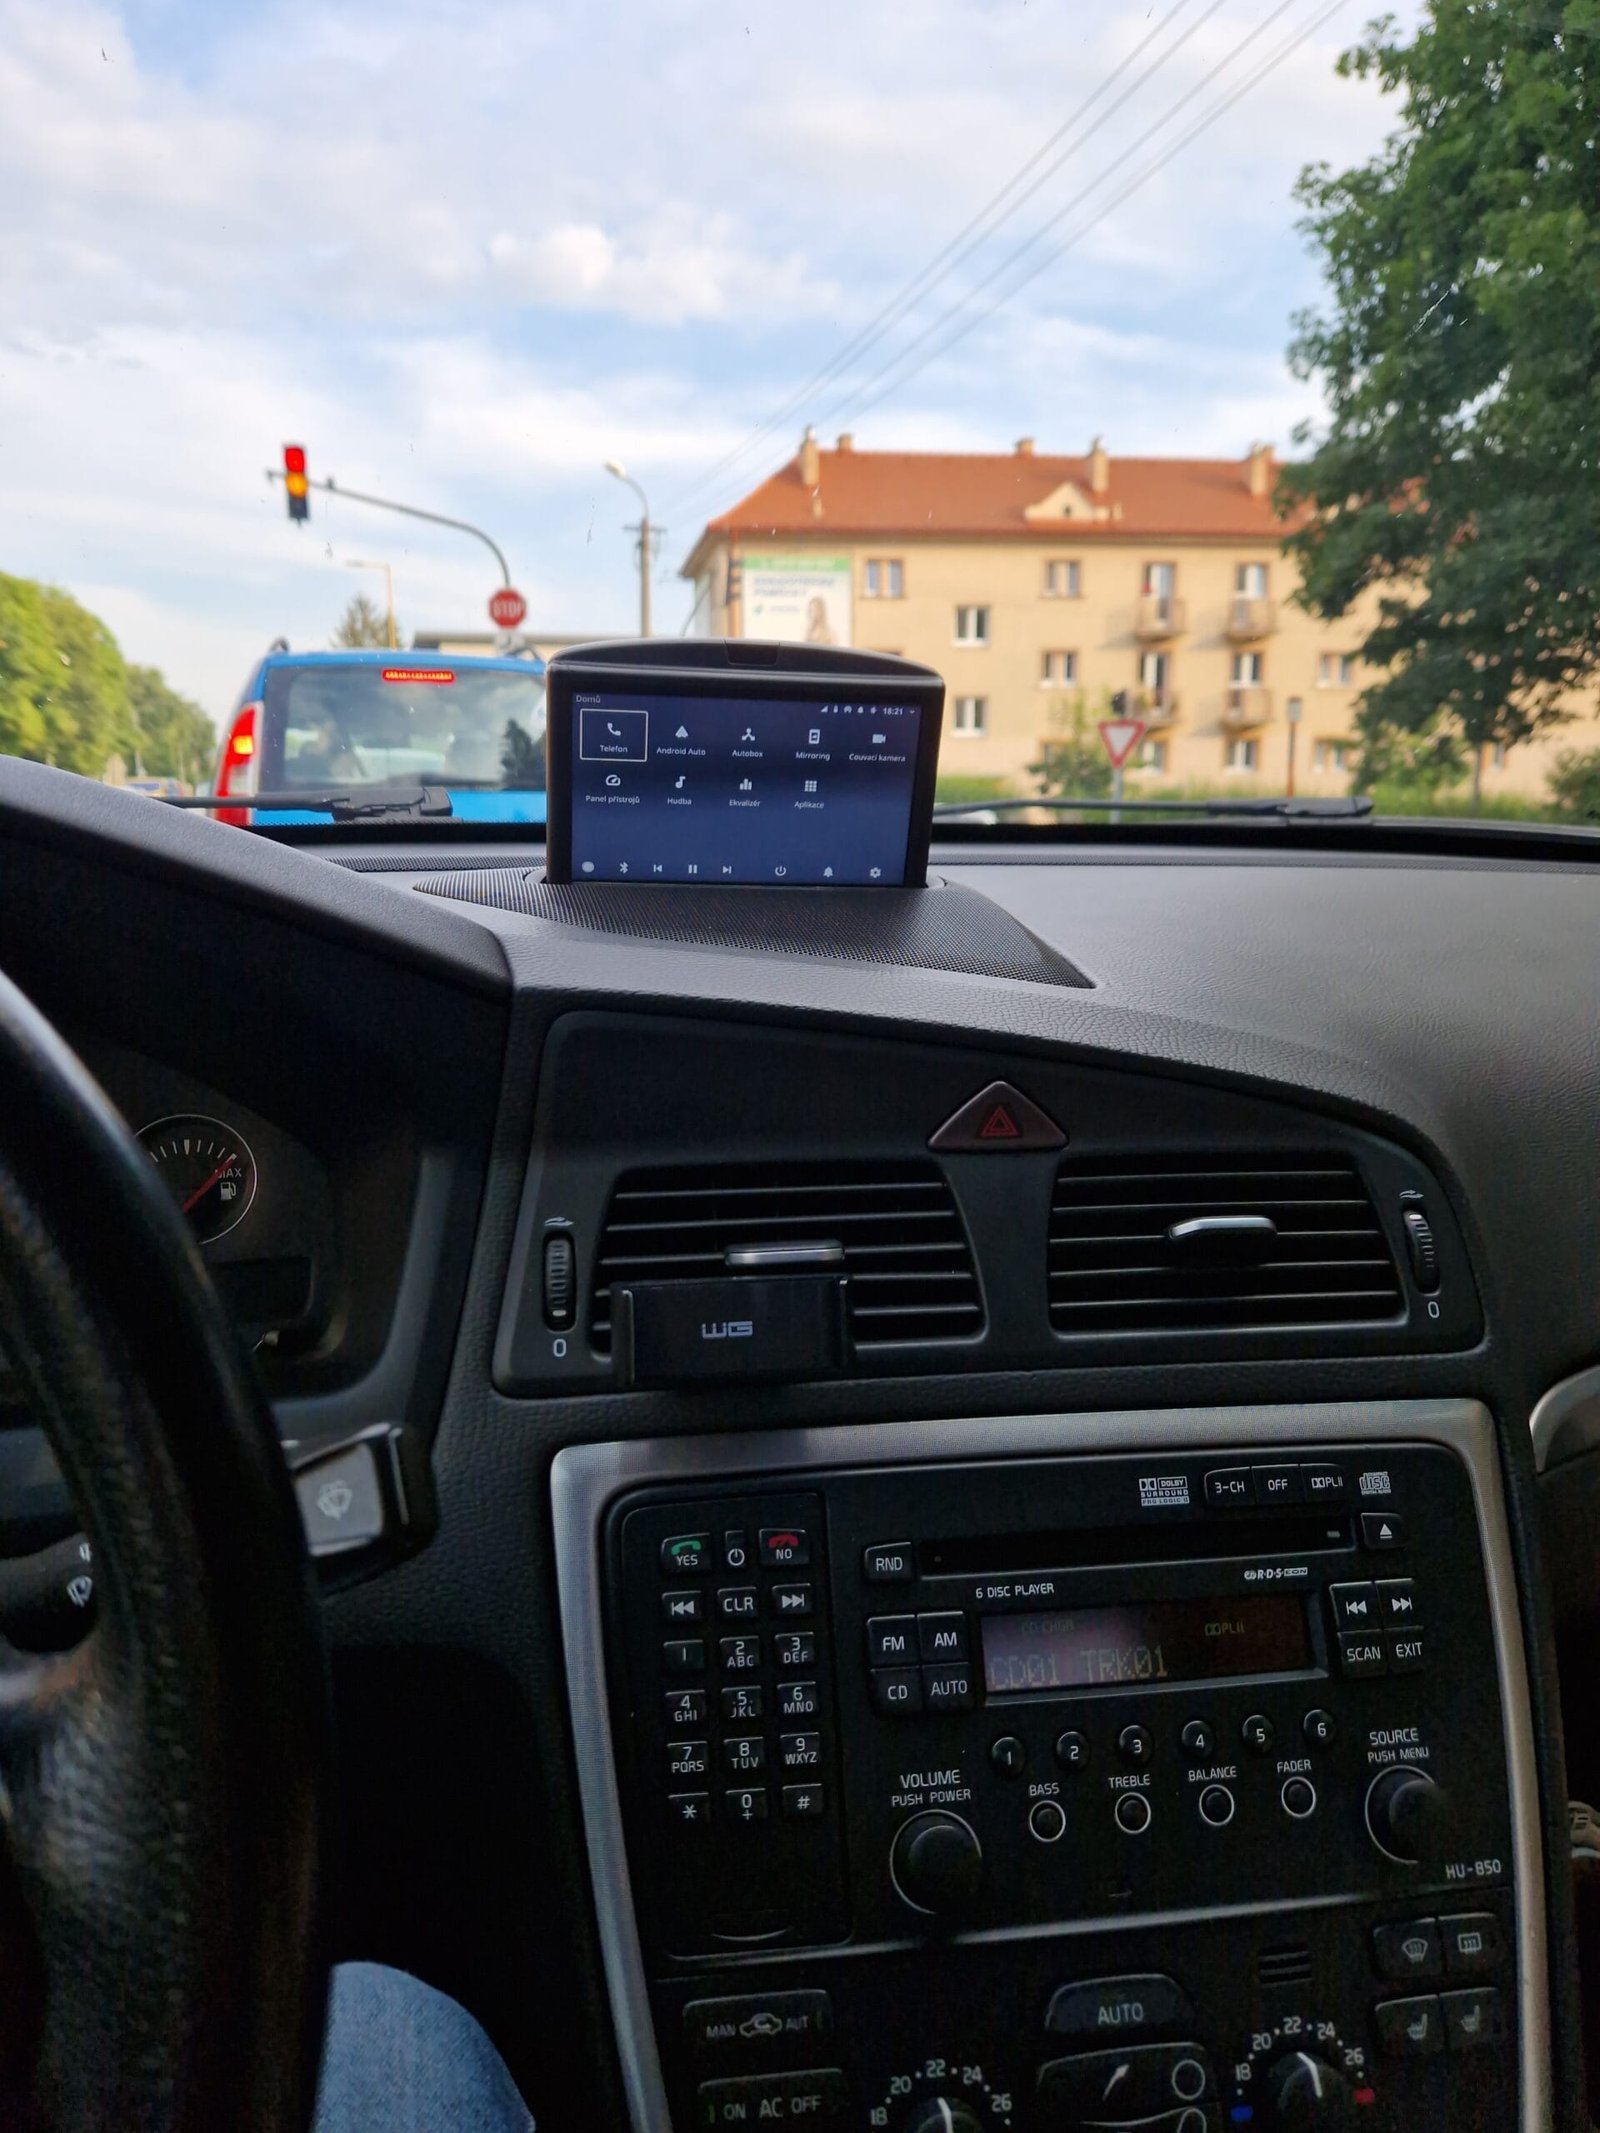
Welcome to Volvo RTI Retrofit project tailored for the Volvo P2! This project enhances your driving experience by integrating a Raspberry Pi and Arduino into your vehicle, replacing the Control Module from the RTI system. Utilizing the stock RTI display and controls ensures seamless integration.


Special Thanks
I would like to extend my sincere thanks to the following contributors who have greatly contributed to the development and success of this project:
- Karl Hagström: His comprehensive guide on adding AUX functionality to the Volvo HU-XXXX radio has been invaluable. Check out the guide here.
- klalle: For updated AUX script and contributions. Check out their GitHub gist here.
- laurynas: For developing the Volvo LINbus reader program, which played a crucial role in integrating SWM buttons into the OpenAutoPro system. Find the program here.
- Luuk: Their resource on enabling Android Auto on Volvo RTI systems has been immensely helpful. More details can be found here.
- BlueWaveStudio Team For developing OpenAuto Pro. This Project is unfortunately closed!
- KreAch3R: For making Android Auto Wireless available again! More details: here.
Your contributions have significantly enriched this project, and I deeply appreciate your efforts. Thank you!
What is now working:
- OpenAuto Pro with Bluetooth and internal audio player, hands-free calling, 15 band equalizer, etc.
- Android Auto Wireless
- Original display via serial video
- Opening and closing the display using buttons Enter+Back.
- The buttons on the steering wheel, including RTI buttons.
- Rear camera
- Automatic brightness control (That needs to be updated)
Future works:
- Add OBD info
- Add a small battery to maintain power during engine startup
- A better case for all the components
- More stable and open source system instead of OpenAuto Pro
Table of Contents
- Connection Overview
- Necessary Components
- Cable Management
- Display Cable Connection
- SWM Button Configuration – LIN bus
- AUX Integration
- RTI Control Module Setup
- RTI Control Module Scheme
- RTI Extender Cable Scheme
- Rear Camera
- Automatic Brightness Control
- Programming Details
- Raspberry Pi: OpenAutoPro installation, setup, Arduino connectivity, and configuring the splash screen
- Enabling Android Auto
Connection Overview
Necessary Components
- Raspberry Pi 4, 2 GB RAM: SD Card 64GB
- USB Sound Card Vention
- Bluetooth C-TECH BTD-02
- Arduino Nano (Original ATmega328) – Clone doesn’t read SWM buttons
- Arduino Nano (China clone) – For AUX
- MCP2004 Chip TME
- Step-Down Converter 12V-5V, 5A
- Ground Loop Isolator
- Various cables, connectors, etc.
- Rear Camera for P2
- Photoresistor
- Resistor R1 10k
Cable Management
Efficient cable management is essential for organizing the components of the OpenAutoPro project within the Volvo S60 D5. Let’s discuss how we’ve optimized cable routing for a tidy and functional setup. Utilizing Original Cables
- To maintain a clean and integrated installation, I’ve repurposed existing cables from the front of the car to the boot.
- Two cables run from the RTI display and radio to the RTI control module. While one cable remains connected between the radio and the control module, we’ll utilize the other 10-pin cable from the RTI display to the control module as an extension cord. Power Source Selection
- To ensure seamless power management, we’ve tapped into the backside of the 12V socket in the front. We will use 2 pins for Power and ground in RTI cable.
- The 12V socket offers the advantage of cutting off power entirely when the ignition is switched off, reducing the risk of power drain.
- In future iterations, I plan to incorporate a small battery to maintain power during engine startup, further enhancing system reliability.


Display Cable Connection:
Incorporating the RTI (Road and Traffic Information) display into the OpenAutoPro system requires a meticulous approach to cable connection. Let’s break down the cable setup for seamless integration. Cable Components:
- Video Cable: This cable carries the video signal from the source to the RTI display, facilitating visual output.
- Ground Cable: Ensures proper grounding for stable operation and electrical safety.
- Display Serial Cable: Facilitates communication between the display and the system, enabling control and data exchange.

SWM Button Configuration – LIN bus
The SWM buttons from the steering wheel, along with the RTI buttons, will be read through the LIN bus. We will utilize the original Arduino Nano with MCP2025 and the “laurynas” Volvo LINbus reader program (https://github.com/laurynas/volvo_linbus). Simply pressing the required button is sufficient to view the LIN bus key code from our buttons, without the need to turn on the ignition. The key code for the Volvo S60 2008 appears as follows: Enter button: “ C1 3F 20 A0 ”
The cables from the SWM/SAS are located up to the steering wheel, under the cover. See blue arrow.

AUX Integration
While the Volvo S60 from 2008 typically comes equipped with an AUX input, my model had its radio upgraded to the HU-850, an older version lacking this feature. Following Karl Hagström’s guide (https://gizmosnack.blogspot.com/2015/11/aux-in-volvo-hu-xxxx-radio.html), I created a CD changer emulator using an Arduino Nano clone.

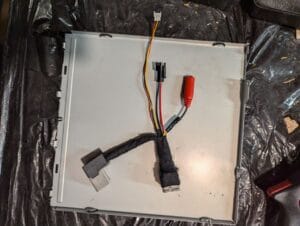
RTI Control Module and Cable Extender
I have removed almost everything from the RTI Control Module box. I only left three connectors: an 8-pin DIN socket, a 10-pin connector from the display and 5 pin Blue Connector. I have placed all the computing components in this box: Raspberry Pi with all its components, a step-down converter, and two Arduino microcontrollers on a PCB.


Rear Camera
I found a rear camera specifically for the Volvo P2, and its installation is straightforward. First, connect the camera power to a step-down converter from the 12V side. Next, connect the camera’s video output to 5V Relay. Which will switch from RPi to Camera, when the reverse light is on. See Control module scheme.
Automatic Brightness Control
Initially, the brightness was configurable but required manual adjustment. Due to the absence of buttons, I decided to automate it. I installed a photoresistor under the rear glass and connected it to the Arduino Nano via the blue connector (refer to the schematic).
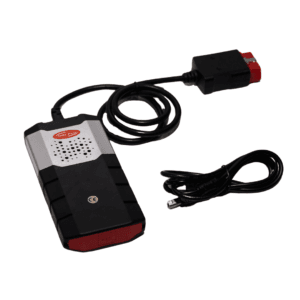
Autocom CDP+ Multi Brand Diagnostic Tool
114,90 € – 145,80 €BMW K+DCAN Diagnostic Tool
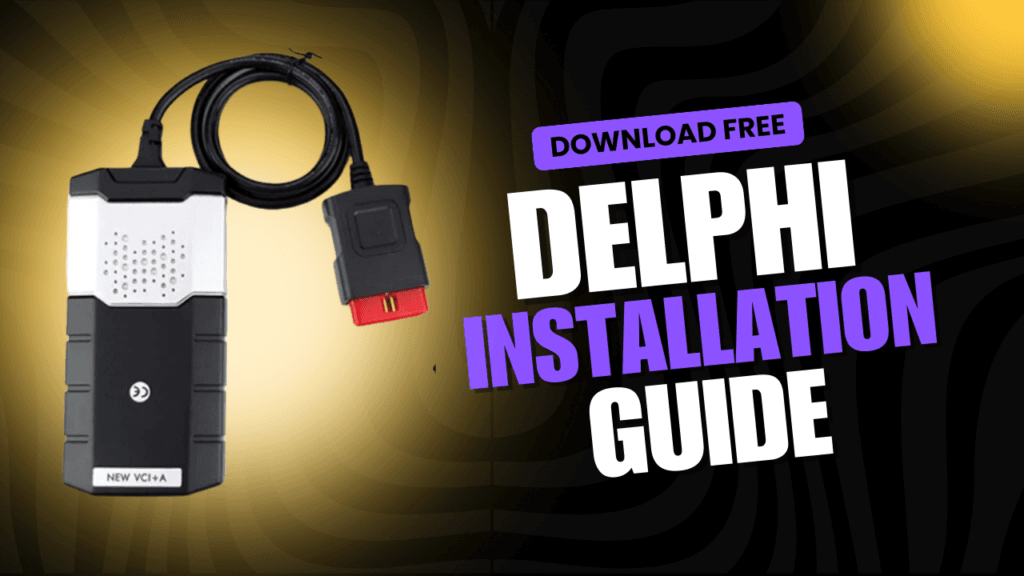
47,90 €Delphi DS150e Multi Brand Diagnostic Tool
93,70 € – 137,90 €


Programming Details
Raspberry Pi: OpenAuto Pro installation, setup, Arduino connectivity, and configuring the splash screen
This guide outlines the steps to configure your Raspberry Pi, including exchanging the Raspberry Pi configuration file, setting up autostart for a button reader, setting the Volvo splash screen, and configuring the equalizer.
1. Exchanging the Raspberry Pi Config File
To make necessary system adjustments, you need to edit the Raspberry Pi boot configuration file.
- Open the Raspberry Pi configuration file using the following command:sudo nano /boot/config.txt
- Modify or add any required settings based on your project’s specifications.
- Save and exit the editor by pressing
Ctrl + X, thenY, andEnter.
2. Setting Up Autostart for Button Reader
To ensure that the run.sh script (which reads button inputs) runs automatically on startup, follow these steps:
- Move the
run.shscript to the/home/pidirectory:sudo mv /home/pi/run.sh /home/pi - Move the
key.pyfile to the/home/pi/Documents/directory:sudo mv /home/pi/key.py /home/pi/Documents/ - Edit the autostart file to add the script:sudo nano /etc/xdg/lxsession/LXDE-pi/autostart
- Append the following line to the end of the file:@/home/pi/run.sh
- Save and exit the editor by pressing
Ctrl + X, thenY, andEnter. - Make the
run.shscript executable:sudo chmod +x /home/pi/run.sh - Install the required Python package
pynput:sudo pip3 install pynput
3. Setting the Volvo Splash Screen
To set up the Volvo splash screen on your Raspberry Pi:
- Move the splash screen files to the OpenAuto Pro directory:sudo mv /home/pi/splash1.h264 /usr/share/openautopro sudo mv /home/pi/splash2.h264 /usr/share/openautopro
4. Exchanging the Equalizer Configuration
To set up the equalizer configuration:
- Move the
openauto_equalizer.iniequalizer settings to: ‘/home/pi/.openautopro/config/’
Enabling Android Auto
After the latest Android Auto update (v12.6), the built-in OpenAuto Pro version stopped working. Thanks to KreAch3R, it’s now possible to reactivate it. Follow his guide here to make it work again.
However, I’ve noticed some issues: the “Next/Previous Track” and “Play/Pause” buttons no longer function, and starting Android Auto from the OpenAuto Pro menu is no longer possible (it only works on system startup). These issues should be addressed in a future update.
With these steps completed, your Raspberry Pi should be properly configured for your project, with the required scripts and configurations in place.

Share on your social media!
Best-selling products
Delphi DS150e Multi Brand Diagnostic Tool
93,70 € – 137,90 €S-line Door Light Logo Projector for Audi
Oorspronkelijke prijs was: 34,80 €.27,90 €Huidige prijs is: 27,90 €.


Excellent, ᴡhat a blog it is! This blog provides valuable information to
us, keep it up.